
A battery is a core hardware part of a laptop because it provides power to operate the whole laptop system. So, if there are any cell-related problems, they are usually serious and hard to fix for most users.
This article will tell you some helpful tips about Dell laptop battery troubleshooting. Are you struggling to fix the cell? Let’s take a look below.
Dell Laptop Battery Troubleshooting Tips
It is conspicuous that your cell can have many problems, which we cannot recognize with naked eyes. So to know how to troubleshoot your laptop cell issues, you should use these hardware and software-related methods below, respectively.
Verify AC Adapter Functionality
The first approach on Dell laptop battery troubleshooting is checking the AC adapter. Sometimes, your cells are working incorrectly, not because of themselves but the AC adapter. You should ensure your laptop recognize the AC adapter via some steps:
- Reboot the computer.
- When the Dell logo emerges, press the F2 key many times until the message Entering Setup appears.
- Verify the AC Adapter Type in the BIOS options.
- If the AC adapter type is None – Check if you connect your AC adapter to the power outlet.
- If the AC adapter type is Unknown – You should fix your AC adapter
- If the AC adapter type is recognized appropriately- your AC adapter is good
Use Bios Mode To Isolate Your Battery Charging
Another way on Dell laptop battery troubleshooting is using BIOS mode. The operating system settings, like power management or device drivers, can affect the charging process. The Bios mode is outside the operating system, so it isolates the hardware-related issues. Following these steps:
- Switch the computer off.
- Follow one of two steps below:
- Charge the cells while the laptop is off
- Or, restart the laptop; when you see the logo, press F2 many times to open BIOS mode. Allow the cells to charge.
- Check the percentage of battery
- Restart the computer.
Use Hardware Diagnostic Test
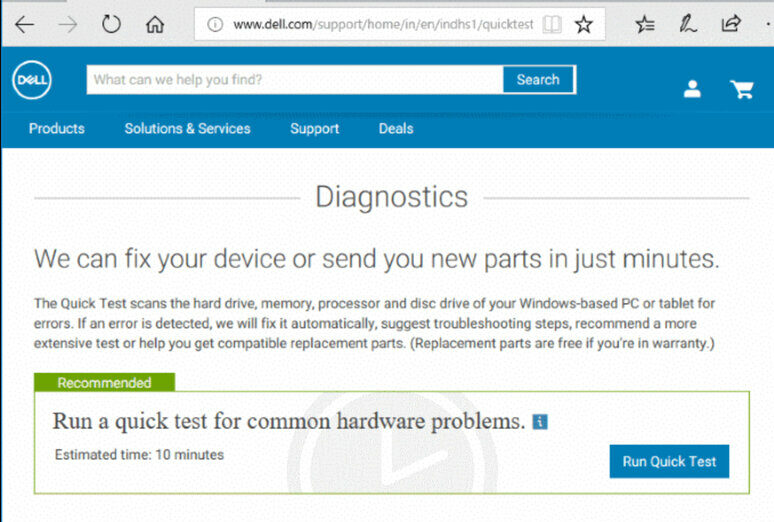
But there is a case that you cannot find what problems with the cell are although you already tried the two methods above. It is time to use the hardware diagnostic test to identify the issue and give you some steps to resolve it. The brand provides both integrated and online diagnostics.
To run an online test on the cell, you can access Dell Support Assist and open the cell diagnostics page.
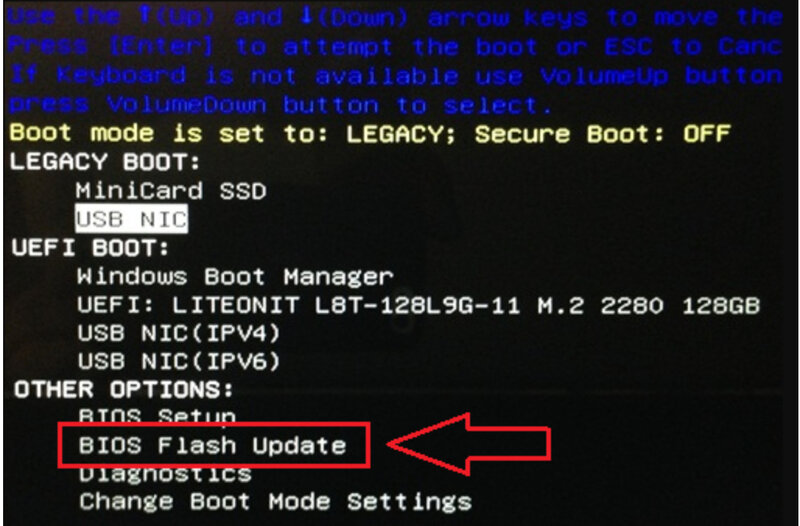
To run the Dell Pre-Boot System Assessment test:
- Switch the computer on.
- When you see the Dell symbol, press the F12 key several times to open One Time Boot Menu.
- Open the Diagnostics by using arrow keys and then press Enter.
- To finish the diagnostics, follow the on-screen instructions and wait for the result
- If the test is successful, you can proceed to the next step.
- If the test fails, keep the error and validation codes in mind and contact Dell Technical Support.
Check Laptop Battery Wear Level
Another method on Dell laptop battery troubleshooting is to check the laptop battery wear level frequently. Checking the cell health status helps us determine if the cells can be used for more time or need replacing.
You might not know this, but you can check our cell with tools, which may be both inside and outside the operating system.
Update The BIOS And Dell Quickset
The BIOs is a firmware that is installed on the motherboard. You should upgrade your BIOS version so that the computer can recognize the AC adapter precisely. The laptop must be on charge by the AC adapter before you can update the BIOS.
The fundamental cell charge of a Dell laptop is at least 10% when updating. If the cell’s charge is less than 10%, you can still force the BIOS to upgrade. But the process can fail and causes everlasting damage to your device.
Quickset is a set of related computer programs that can help you access some functions easier, like power management and the cell health meter. Updating the Dell Quickset application can help resolve issues with cell charging. Some features of Dell quickset are:
- Disable or enable cell charging.
- Change Function (Fn) key behavior.
- Configure wireless shortcut key.
Open Windows Troubleshooter For Battery Issues
The Window operating system itself has already had a tool for users to troubleshoot the cells. Windows Hardware and Devices troubleshooter is available in Windows 10, Windows 8, and Windows 7.
To use the Hardware and Devices troubleshooter, follow these steps:
- Press the Windows key + R key.
- Run dialog box emerges, type “Control” into the box, and press the Enter key.
- In the Search box of the Control Panel on the top-right corner, type Troubleshooter and then choose Troubleshooting. Open System and Security, click Power.
You may wait for a little while to diagnose what problem your cells have.
Other Tips To Keep Your Battery Healthy
Cells are vulnerable if we use them in the wrong ways. So we will give you some notes to lengthen the cell life below:
- Keep your laptop at a suitable temperature: High temperature is the enemy of our cells. It makes the device work harder and consumes more energy. This process burns the cells faster.
- Turn on cell saver mode: When using this mode, our system will use less energy than usual. So our cells do not work hard and prolong their lives.
- Do not let the cells die: Sometimes, you forget to charge your device, and then it must shut it down itself. It can cause permanent damage to the cells. The recommended percentage is 20%.
Wrapping Up
That’s all you know about Dell laptop battery troubleshooting tips. We hope that you can cope with all of the problems with our instructions. But you can prevent it by using the cells correctly before some troubles appear.

Paul Sullivan is the leading writer for articles on our website. He has over 10 years of experience as a technology reviewer, especially on laptops and computers.
With his long experience, we believe that he will bring you accurate and valuable knowledge and assessment.