
You’ve been with your beloved laptop for a while now, but only recently has it started showing signs of decreasing stamina. What can you possibly do when your laptop won’t charge to 100?
It is time to pull your laptop out and examine its symptoms so that you can fix the problem from its core. Read the guide below to understand the root of the problem and how to solve it now!
Contents
What Causes “Laptop Battery Won’t Charge To 100”
If your laptop refuses to hit the 100% mark on the power source indicator, despite you leaving it to charge for hours on end, that might be signs of a plethora of different issues. Before you take your device to a professional for them to look at, see if it have any symptoms relating to these causes:
1. Bad Connectivity:
The first place you should look at is the points of connection. Anything from the charging port, the adapter, the plug, and the electrical outlet you use should be cleaned and examined for leakage.
The adapter is the easiest to fail, as overheating can cause it to swell and lose its efficiency. When you plug in the portable computer while you are still typing away on it, you will likely notice that your adapter becomes burning to the touch. That is an initial clue to the fact that you have been overworking the adapter.
Aside from that, you should also check if the outlet you use is too weak to support the charging process. Look into the amperage required for your laptop, and compare that with what your outlet discharges. If there is too much of an imbalance, there’s no guarantee that your devices will charge properly.
It will be even worse when the portable computer has to share a weak outlet with many devices at once.
2. Old, Dusty Equipment:
Your laptop will stop working properly if it overheats, and that’s what will happen to every little part of the device. An accumulation of dust will cause the port and the power source to work extra hard to bring in the current, which will also cause overheating.
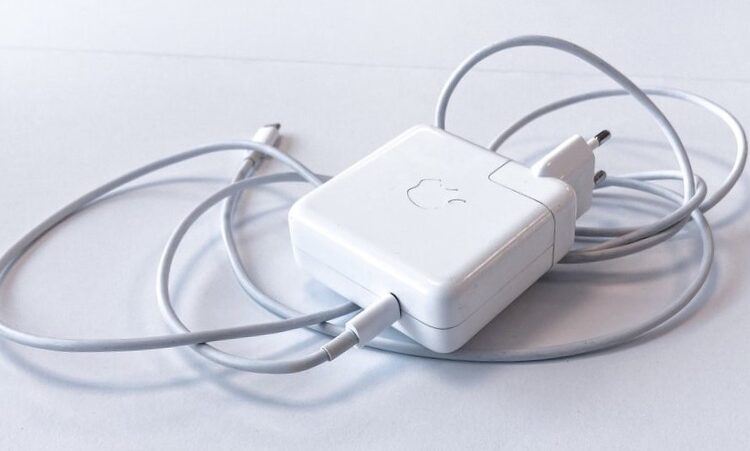
Your charging cable can cause a bit of a headache.
All the buildup will affect the way your device takes in and disperses energy, so you should watch out for the dirt every few months!
3. Software Calibration Issues:
If your hardware seems to be fine, the problems might come from what goes on behind the screen. You should trust your monitor to show you the exact information produced by the device, so if the monitor is wrong, the diagnosis must be faulty as well!
If you have recently:
- Swap out the bold power source for a new one;
- Switch between different batteries often
- Fix up any battery-related issues;
Your portable computer may have difficulties recognizing the fixed/new state, resulting in an incorrect read on the power percentage. If this is the case, you do not have to worry about the number shown on the screen, as the new and efficient power source is already fully charged!
4. Battery Failure:
This is the last and most severe conclusion you can land on. If your laptop repeatedly turns itself off whenever you unplug it (along with an incorrect read on the power percentage), that’s a clear cry for help from your power source.
This is the result of you plugging in the device for too long and not letting it rest. Once it gets to the point of depending on your adapter to stay alive, it is completely dead.
What Should You Do If Laptop Battery Won’t Charge To 100?
Now that you know where the causes may come from, it’s time to find out the solution!
Step 1: Test The Laptop With Other Chargers
The first thing you should always do is to identify the source of your problems. Start by using chargers similar to yours to see if the problem still repeats. Be sure to use the right charger model in order to get the best testing result.
Doing this will help you avoid mismatching the port and wire head since some tech companies tend to change the couple in new lines of products.
- Start by restarting the device. This will ensure that your portable computer is recalibrating properly and show the correct power percentage.
- Once the device is back on, plug it with a sufficient outlet with the alternative wire you have prepared.
- Check the charging time estimate, and set a timer on your phone or clock to match that time.
- Once the time is up, you can have a look at the power source charging condition. If the device shows 100%, the problem lies with your old adapter/charging cable. However, if the alternative cord still proves to be inefficient, then you might want to have a look at the device’s power source.
Go to Step 2 for charging equipment problems, and Step 4 for battery problems.
Step 2: Check The Condition Of Your Charging Equipment
Once you can tell that the charging issues come from the adapter/wire pairing, you should check for dust and dirt buildup first and foremost. It is the leading cause of a loose connection or even sudden disconnection as well.
Newer charging equipment also comes with a light indicator, so you can tell whether or not the cable is delivering current. If the light seems dimmer than usual, it shows a decrease in performance.
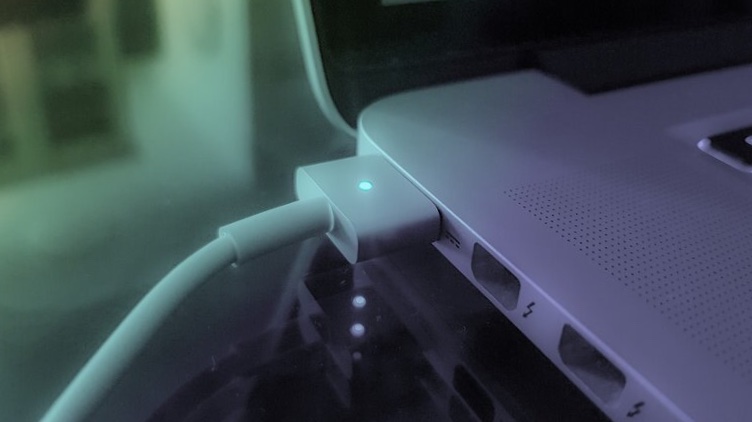
The light on your charging cable can signify its performance.
You can fix the equipment or buy a new one: that’s entirely up to you!
Step 3: Disconnect Everything Else That’s Hogging The Outlet
Don’t share your plug with others when you are unsure if the outlet can handle all of them at once. Even with the best cable and battery combo, an electrical outlet can still determine overall efficiency. This is especially true for extensions and other types of supplementary electricity-lending parts.
Step 4: Troubleshoot The Charging Process
Once you place your sight onto the portable computer battery being the hindrance, you should run a troubleshoot on the calibration process. This can be done through the Control Panel application on the device, as well as the tab called “Battery Saver Overview” from your Windows search tab.

You can check your battery settings before making changes.
You should also consider the possibility that your batteries tapped out. After working themselves so hard, they will inevitably give out from the pressure. There are many types of portable computer batteries in the world with different shelf lives: a lithium-ion rechargeable power source may have a 10-12-year expectancy, while rechargeable ones only last 2-4 years.
Here’s the guide on how to check laptop battery wear level, just so you know how bad you have it:
- Use the key combo Windows + X to call upon the Command Prompt to appear.
- Punch in the command “powercfg /batteryreport” and hit Enter.
- Give the system a moment, and it will send you a battery report in your account’s directory over at Windows Explorer. From there, you will get a read on power source usage, capacity history, and more!
If all else fails, bring your laptop and charging accessories to a professional mechanic and let them have a look.

Bring your device to a professional mechanic.
Final Words
That’s all you need to know when your laptop battery won’t charge to 100! Try out the steps and let us know whether or not they are effective for you. If you run into any sort of difficulty while carrying out the guide, let us know, and we can work it out together!

Paul Sullivan is the leading writer for articles on our website. He has over 10 years of experience as a technology reviewer, especially on laptops and computers.
With his long experience, we believe that he will bring you accurate and valuable knowledge and assessment.